
| 일 | 월 | 화 | 수 | 목 | 금 | 토 |
|---|---|---|---|---|---|---|
| 1 | 2 | 3 | 4 | 5 | 6 | 7 |
| 8 | 9 | 10 | 11 | 12 | 13 | 14 |
| 15 | 16 | 17 | 18 | 19 | 20 | 21 |
| 22 | 23 | 24 | 25 | 26 | 27 | 28 |
- error
- 맥
- Apple
- SwiftUI
- JPA
- shorebird
- 한글
- Swift
- 웹뷰
- github
- 이미지
- geofencing
- UIButton
- Archive
- window
- Xcode
- Git
- rxswift
- Session
- 개발자
- Firebase
- IOS
- iOS16
- mac
- appstore
- MacOS
- Code
- FLUTTER
- darkmode
- Realm
- Today
- Total
EEYatHo 앱 깎는 이야기
RN ) Objective-C 코드 호출 - EEYatHo RN 본문
React Native 에서 Objective-C 코드를 호출하는 공식 설명이 좀 난잡해서 정리한다.
구현 방법 요약
- RCTCalendarModule.h 파일 생성 및 코드 입력
- RCTCalendarModule.m 파일 생성 및 코드 입력
- App.js 코드 수정
- 실행 및 확인
RCTCalendarModule.h
RN 프로젝트의 iOS 프로젝트에 RCTCalendarModule.h 를 만든다.
RCTCalendarModule 의 Calendar 은 공식 설명글에서 네이티브의 캘린더 기능 호출하고자 해서 붙혀진 이름이다.
RCT 는 React 의 약어이다.
모듈 이름은 원하는 대로 수정해도 된다 ( ex. RCTSwiftModule, RCTVibrationModule )
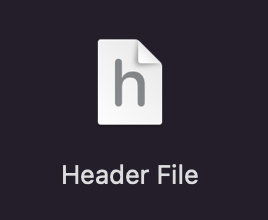
RCTCalendarModule.h 를 만들 때, Header File 을 선택해서 만들면 된다.
아래 코드를 입력한다.
#ifndef RCTCalendarModule_h

//  RCTCalendarModule.h
#import <React/RCTBridgeModule.h>
@interface RCTCalendarModule: NSObject <RCTBridgeModule>
@end

#endif /* RCTCalendarModule_h */

#define RCTCalendarModule_h
RN 팀에서 제공하는 RCTBridgeModule 프로토콜을 구현한다.
RCTCalendarModule.m
RN 프로젝트의 iOS 프로젝트에 RCTCalendarModule.m 를 만든다.
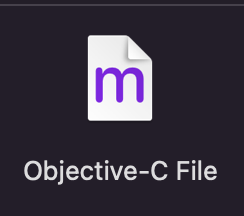
RCTCalendarModule.m 를 만들 때, Objective-C File 을 선택해서 만들면 된다.
아래 코드를 입력한다.
#import "RCTCalendarModule.h"
#import <React/RCTLog.h>

@implementation RCTCalendarModule

RCT_EXPORT_MODULE(); // JS에서 사용할 모듈 이름 설정. 빈값이면, 자동으로 RCT를 제거하고 CalendarModule 로 됨.

RCT_EXPORT_METHOD(createCalendarEvent:(NSString *)name location:(NSString *)location)
{
  RCTLogInfo(@"Pretending to create an event %@ at %@", name, location);
}

@end
RCT_EXPORT_MODULE 는 JS 코드에서 엑세스 할 수 있는 모듈 이름을 지정한다.
1. RCT_EXPORT_MODULE(CalendarModuleFoo);
-> JS 에서 접근하는 모듈 이름은 CalendarModuleFoo 이 된다.
2. RCT_EXPORT_MODULE();
-> 아무 값도 없을 경우, Class 이름에서 RCT 를 제거한 이름이 기본값으로 지정된다.
-> RCTCalendarModule 에서 RCT 를 제거한 CalendarModule 이 된다.
* 문자열을 넣어줘야하는 느낌이지만, 따옴표를 사용하면 안된다.
"CalendarModuleFoo" 라고 하면 안되고, CalendarModuleFoo 를 넣어야한다.
Objective-C 의 RCTLogInfo 와
JavaScript 의 console.log 는 RN 에서 제공하는 Debugger 에서 볼 수 있다.

App.js
RN 프로젝트의 App.js 를 수정한다.
import React from 'react';
import { NativeModules, Button, View } from 'react-native';

const { CalendarModule } = NativeModules;

const NewModuleButton = () => {
  const onPress = () => {
    console.log('We will invoke the native module here!');
    CalendarModule.createCalendarEvent('testName', 'testLocation');
  };

  return (
    <View style= {{flex: 1, justifyContent: "center"}}>
    <Button
      title="Click to invoke your native module!"
      onPress={onPress}
    />
    </View>
  );
};

export default NewModuleButton;
공식 설명 글에서 제공하는 코드는, 상단 safeArea 가 있을 경우, 버튼이 안눌려서 가운데 오도록 수정했다.
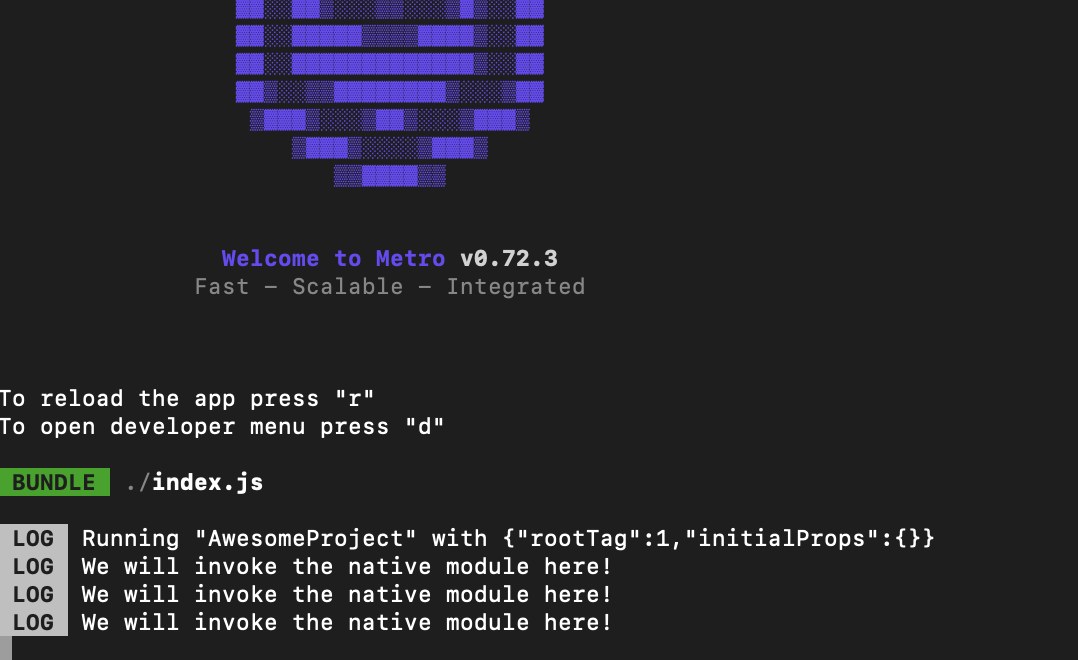
실행 결과
[ 실행 화면 ]

[ 버튼 클릭시 Metro 에 찍히는 Log ]
( 디버거를 연결하면 찍히지 않습니다 )
[ 버튼 클릭시 Debugger 에 찍히는 화면 ]

'ReactNative' 카테고리의 다른 글
| React ) useEffect, Mount, Update, Render - EEYatHo RN (0) | 2022.10.28 |
|---|
